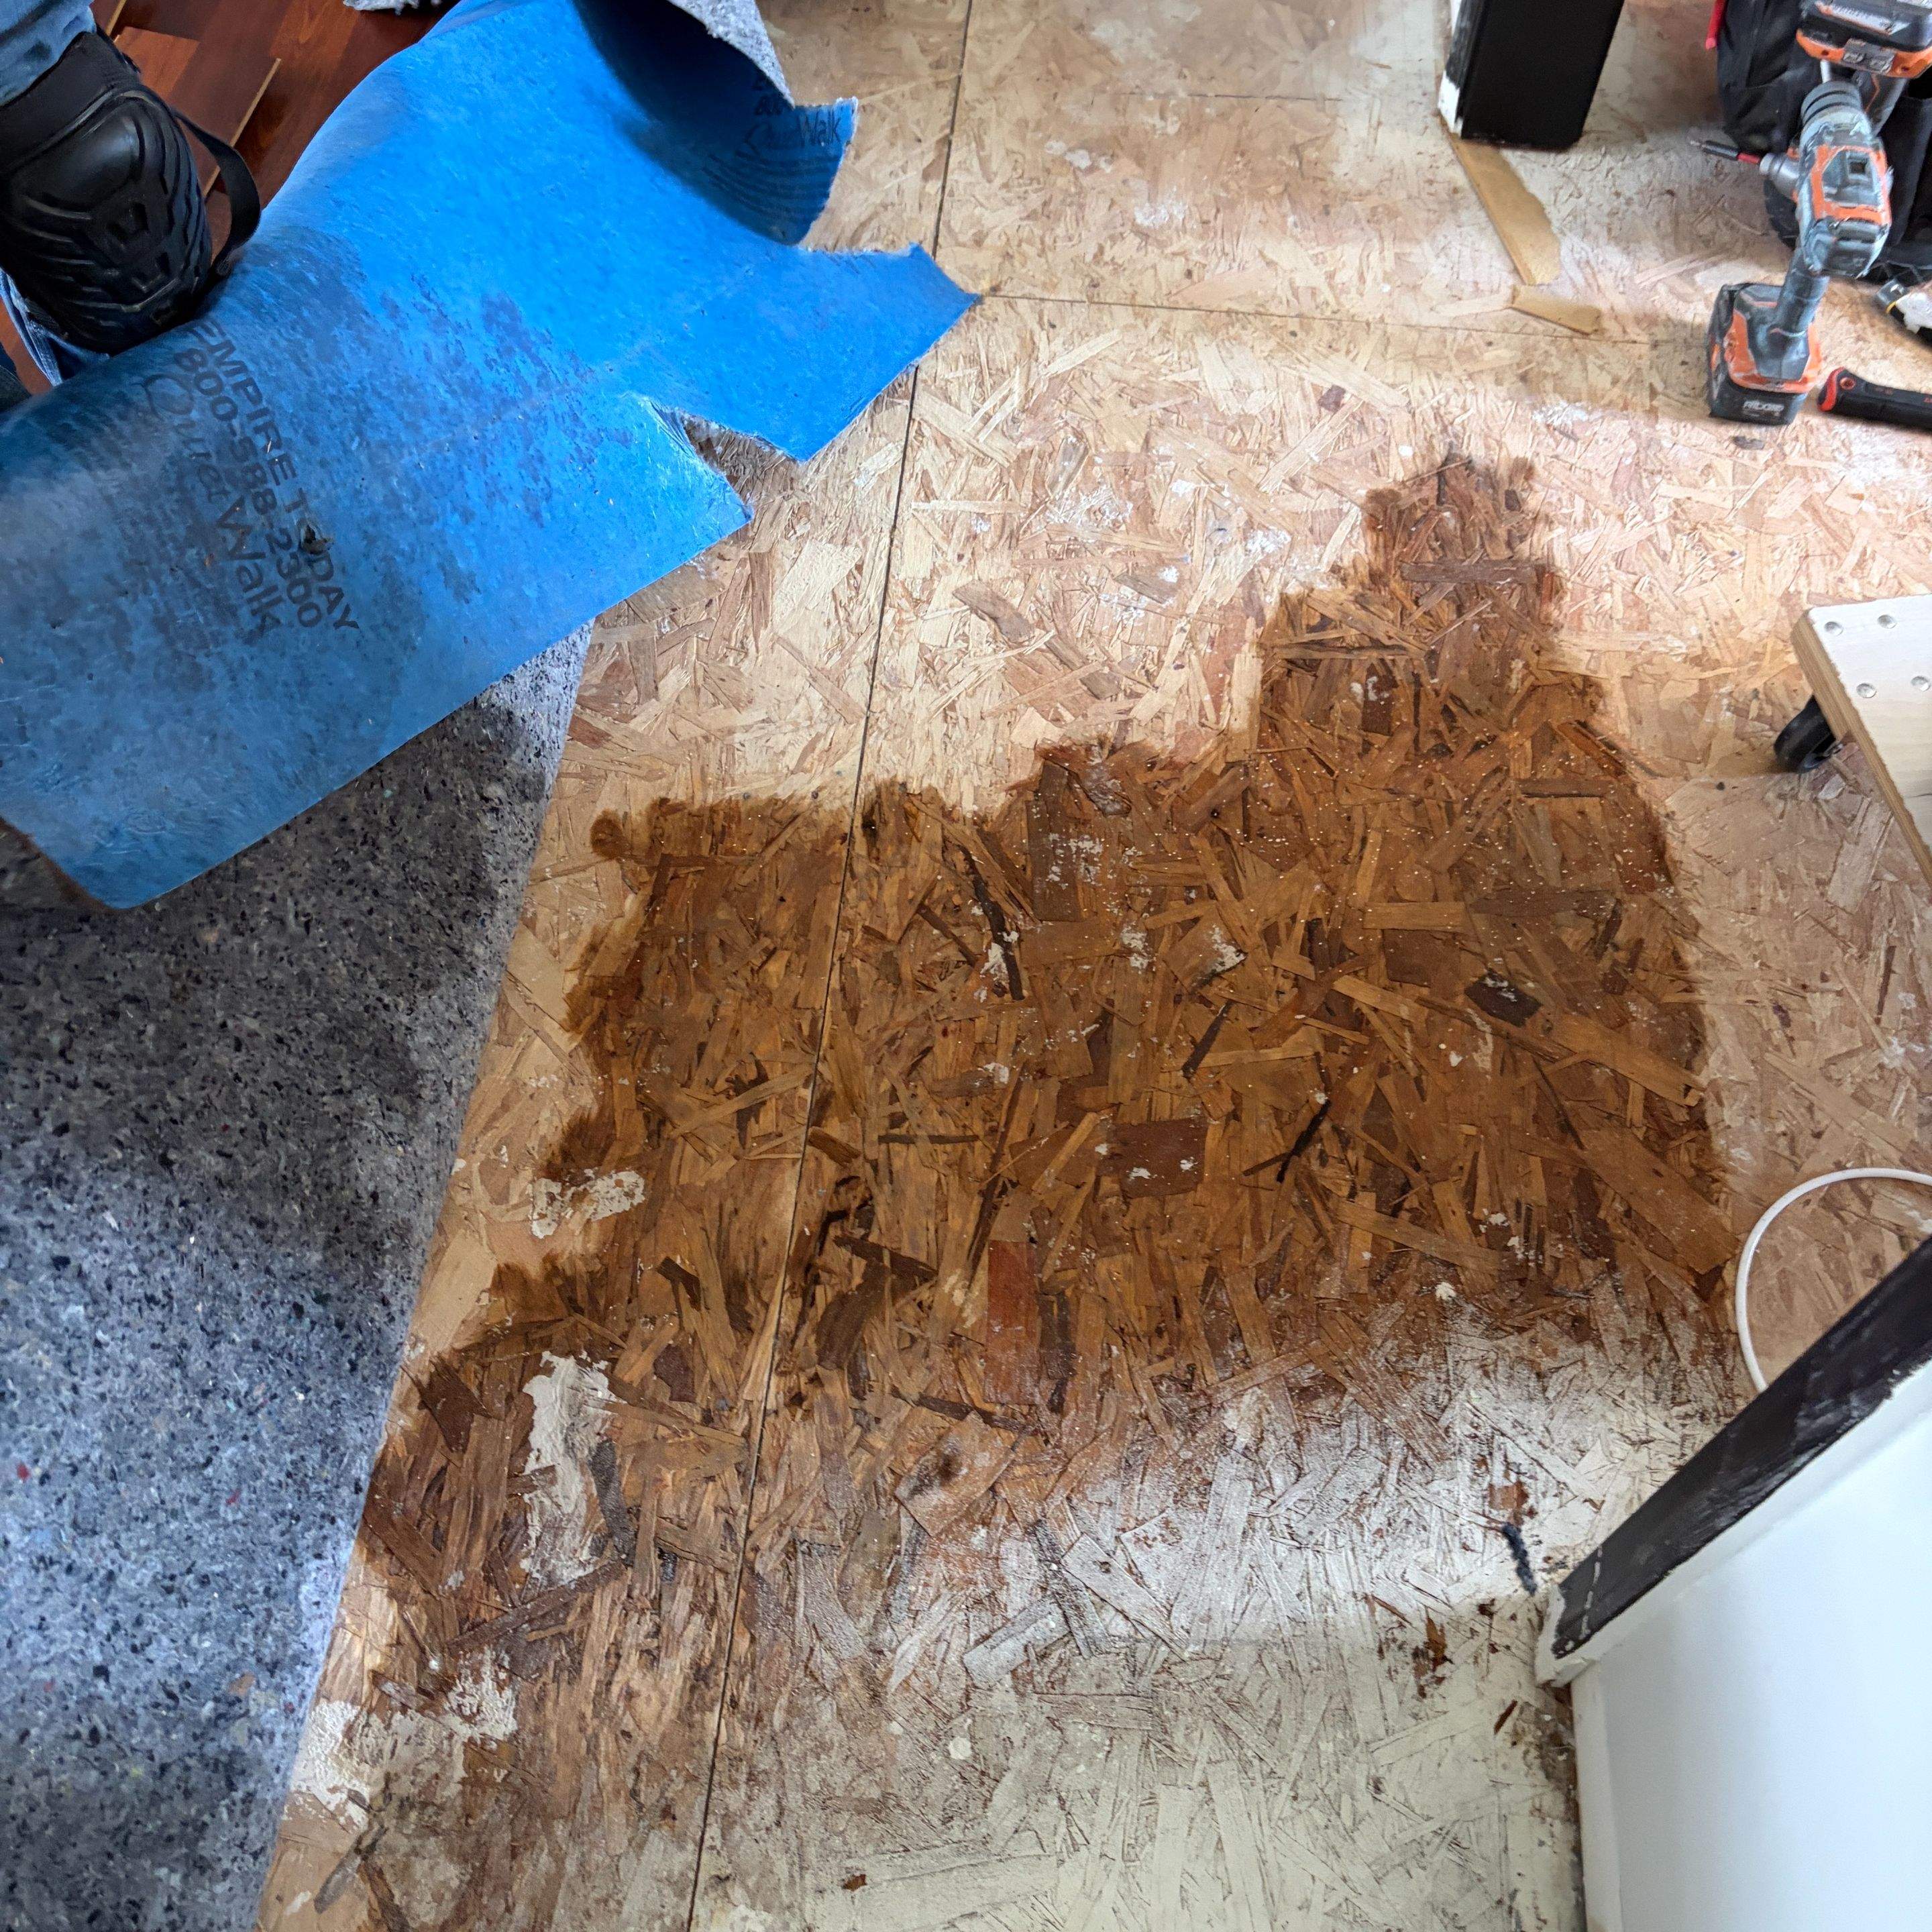
Step by Step: Refrigerator Water Line Leak Response
- Shut off the supply valve within 60 seconds. Locate the 1/4 inch saddle valve or quarter turn valve under the sink or behind the fridge. Rotate clockwise until firm. If the valve is corroded or spinning freely, shut off the main water supply at the meter.
- Cut power to the affected circuit. Flip the breaker for the kitchen outlets and the refrigerator at the panel. Standing water plus a 120 volt appliance is a documented electrocution risk.
- Pull the refrigerator straight out 24 to 36 inches. Use appliance sliders or walk it forward in 2 inch increments to avoid tearing the flooring. Inspect the rear of the unit for the leak point: compression fitting, saddle valve puncture, or cracked plastic line.
- Photograph everything before cleanup. Take a minimum of 15 photos: the leak source, water pooling, baseboard staining, cabinet kick plates, and any visible warping. Insurance adjusters require pre mitigation documentation under most homeowner policies.
- Extract standing water with a wet vac. A standard 6 gallon shop vac removes surface water in 10 to 20 minutes. Do not use a household vacuum. For losses larger than 50 square feet, a truck mounted extractor pulling 150 to 200 inches of water lift is required.
- Map moisture with a meter, not your eyes. Dry hardwood reads 6 to 10 percent moisture content. Wet hardwood reads 16 percent or higher. Drywall over 1 percent on a non invasive meter indicates trapped moisture. Mark every wet zone with painters tape.
- Remove the lower 2 inches of baseboard and the cabinet toe kick. Water travels by capillary action up wood fibers. Cutting the toe kick exposes the subfloor underneath the cabinet run, which is the single most overlooked hidden damage zone in refrigerator leaks.
- Drill 1/2 inch inspection holes in suspect drywall. Place holes 4 inches above the floor, behind the baseboard line, every 16 inches. Insert a borescope or pin meter probe to verify wall cavity moisture before committing to demolition.
- Check the ceiling below if the fridge sits over a basement or crawl space. Tap the drywall for hollow or soft spots. Thermal imaging shows a 3 to 8 degree temperature differential where moisture is present. See our guide on hidden leak detection behind walls for the full thermal protocol.
- Deploy air movers at 1 unit per 150 square feet. Position at 16 to 45 degree angles to wet surfaces. Run continuously for 72 to 96 hours minimum.
- Add an LGR dehumidifier sized to the affected area. One commercial low grain refrigerant dehu pulls 75 to 130 pints per day and serves up to 1,500 square feet of contained drying space.
- Monitor daily until dry standard is met. Document moisture readings every 24 hours. Wood subfloor target: under 16 percent. Drywall target: under 1 percent on a non invasive scan. Concrete slab target: under 4 percent on a calcium chloride test.
Common Failure Points on the Water Line Itself
- Saddle valve pinhole leaks. The 1/4 inch piercing pin corrodes and drips 1 to 3 ounces per day for months before detection. Replace with a quarter turn shutoff rated for 100 psi.
- Plastic line compression fitting failures. Original equipment 1/4 inch polyethylene tubing becomes brittle after 5 to 8 years. Upgrade to braided stainless steel rated for 250 psi.
- Ice maker inlet valve solenoid cracks. The dual solenoid valve at the rear of the Stones Crossing Water Restoration unit fails between years 7 and 12. Symptoms include intermittent dripping during fill cycles.
- Door dispenser line freeze splits. When the freezer compartment runs below 0 F and the line is poorly routed, water freezes and ruptures the tubing. Visible only when the fridge is pulled and the back panel removed.
- Drain pan overflow. Defrost cycle water bypasses a clogged or cracked evaporator drain and exits the cabinet from the bottom rear, mimicking a supply line leak.
Repair Specifications and Typical Costs
- Subfloor replacement: 3/4 inch tongue and groove plywood, $4 to $7 per square foot installed including demo and disposal
- Hardwood refinishing or replacement: $6 to $14 per square foot depending on species and whether the planks can be sand and refinished or must be woven in
- Drywall repair: $2 to $4 per square foot for cut, replace, tape, mud, texture, and paint match
- Cabinet toe kick and lower panel rebuild: $150 to $400 per linear foot for custom matching
- Mold remediation if discovered: $500 to $4,000 depending on square footage and containment requirements. Review our notes on mold after water damage for the inspection protocol
- Full mitigation and drying: $1,200 to $4,500 for typical kitchen losses under 200 square feet of affected area
- Water line replacement with braided stainless: $80 to $200 parts and labor, including new quarter turn shutoff valve
- Appliance leveling and reinstall: $75 to $150 to re seat the Stones Crossing Water Restoration unit on new flooring with updated anti tip brackets
Most homeowner insurance policies in Stones Crossing cover sudden and accidental discharge from a refrigerator water line. They do not cover long term seepage. Documenting the leak date and getting professional mitigation started within 24 to 72 hours protects your water damage claim and emergency response coverage.
Hidden Damage Zones to Inspect
- Subfloor under the refrigerator and adjacent cabinets (OSB swells at 20 percent moisture and loses structural integrity at 28 percent)
- Wall cavity behind the fridge, especially insulation that holds water for weeks
- Cabinet sides and back panels (particleboard is destroyed within 48 hours of saturation)
- Hardwood plank flooring 6 to 10 feet from the fridge in the direction of the floor joists
- Basement ceiling drywall directly below the kitchen, plus joist tops and bottom plates
- HVAC return ducts running through the floor system, which can transport moisture and spores throughout the home
- Electrical outlets on the shared wall, where capillary wicking can saturate the back of the box and corrode terminals
- Floor transitions to adjacent rooms, where T molding traps water against the subfloor edge
Drying Equipment Configuration
- Containment first. Hang 6 mil poly from ceiling to floor to isolate the kitchen. A 200 square foot contained zone dries 40 to 60 percent faster than an open floor plan.
- Negative air pressure. Run a HEPA air scrubber at 500 to 2,000 CFM exhausting outside if mold growth is suspected on day 3 or later.
- Cavity drying ports. Inject warm dry air into wall cavities through 2 inch holes drilled at the bottom plate. Connect to an Injectidry style manifold at 0.5 to 1.5 inches of static pressure.
- Heat assistance. Maintain ambient temperature between 80 and 90 F to accelerate evaporation. Each 20 degree rise roughly doubles the drying rate.
- Daily psychrometric logs. Record temperature, relative humidity, grains per pound, and surface moisture at 4 fixed points. Adjust equipment when GPP drops below 60.