The 6-Step DIY Decision Framework
Work through these in order. Stop at any step that disqualifies DIY.
- Identify the water category
- Measure the affected area
- Check how long the water sat
- Inventory what got wet
- Confirm you have the right equipment
- Set a 48-hour benchmark
Step 1: Identify the Water Category
Not all water is equal. The IICRC defines three categories, and only one is safe for DIY.
- Category 1 (clean): supply line break, refrigerator line, sink overflow with clean water
- Category 2 (grey): dishwasher discharge, washing machine overflow, aquarium spill
- Category 3 (black): sewage, toilet overflow with solids, flood water, any standing water over 48 hours old
DIY is only realistic for Category 1. For anything else, read our breakdown on water damage categories before you touch it. Grey and black water carry bacteria that household fans and shop vacs will not address.
Keep in mind that clean water can degrade into grey or black water quickly. A supply line leak that sat for two days is no longer Category 1. Temperature also accelerates the shift, and a warm room speeds bacterial growth in any organic material the water touched.
Step 6: The DIY Drying Sequence
If you have cleared the first five steps, here is the order of operations.
- Shut off the water source and kill power to any affected circuits
- Extract standing water with a wet/dry vac, do not push it around
- Remove area rugs, wet padding, and any saturated soft goods
- Pull baseboards if water touched them, this lets wall cavities breathe
- Position air movers to create circular airflow across wet surfaces
- Run the dehumidifier in the same enclosed space, doors closed
- Check moisture readings every 12 hours in the same exact spots
- Keep equipment running until readings match unaffected areas, usually 3 to 5 days
Honest Cost Comparison
DIY is not free, and pros are not always more expensive than people assume.
- DIY small spill: $50 to $200 in supplies and rental
- DIY single room: $300 to $800 with proper equipment rental for 4 days
- Professional small loss: typically $1,000 to $2,500, often covered by insurance
- Professional medium loss: $2,500 to $7,500, almost always claim-eligible
If your deductible is $1,000 and the job will exceed that comfortably, professional service usually nets out cheaper once you factor labor, time off work, and the risk of an incomplete dry-out.
When to Call Stones Crossing Water Restoration in Stones Crossing
If any step in the framework disqualified your situation, do not wait. Stones Crossing Water Restoration dispatches crews in Stones Crossing in most cases within 2 hours, and the faster the response, the more material we can save. Call before the 48-hour clock runs out, and bring photos of the source, the affected area, and any moisture readings you already took. That information speeds the assessment and helps your insurance claim move faster.
Red Flags That Mean Stop and Call
Even if you started DIY in good faith, these signs mean it is time to bring in help.
- Musty smell after 48 hours of drying
- Moisture readings not dropping after day two
- Soft, spongy, or discolored drywall
- Buckling, cupping, or crowning hardwood
- Visible mold growth of any color
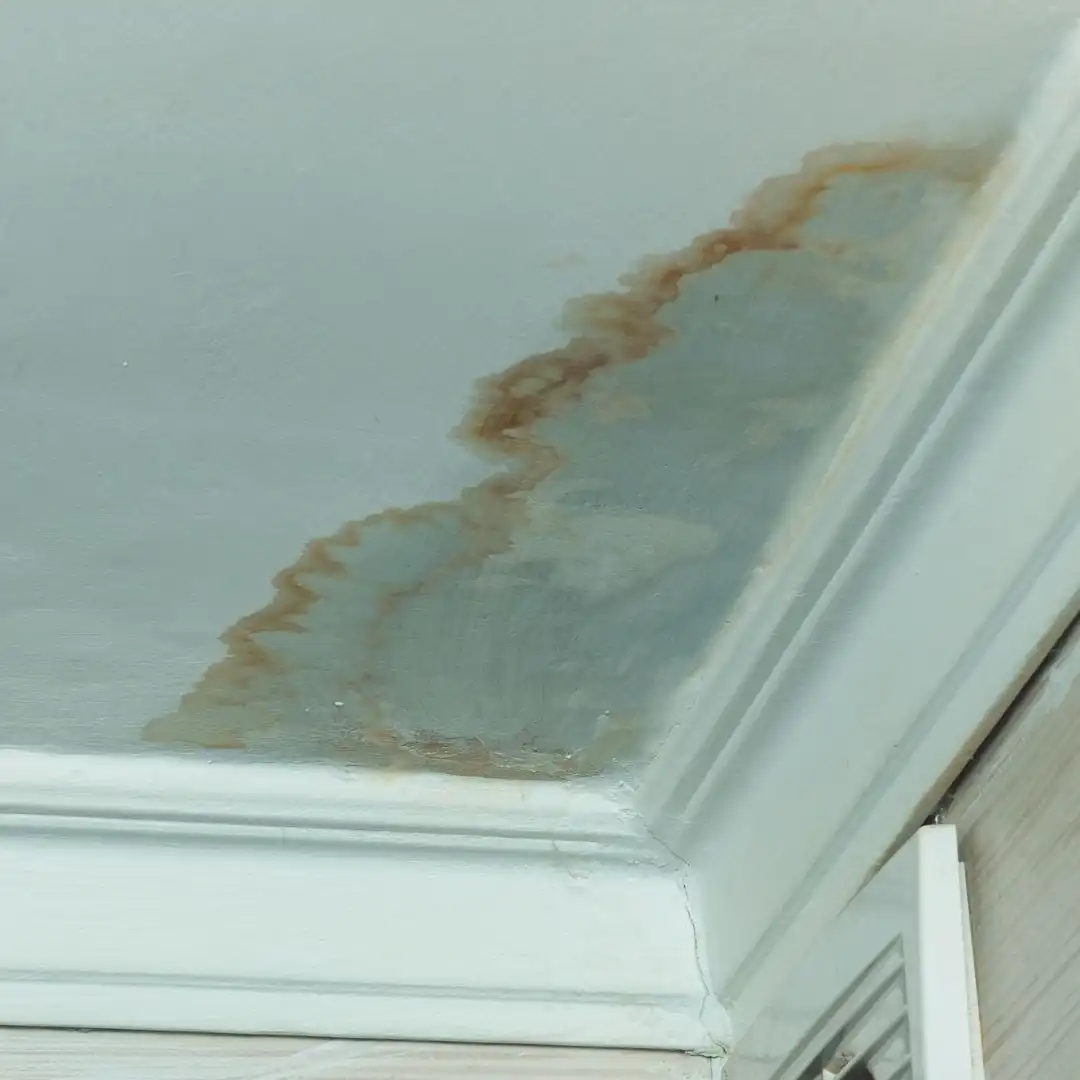
- Stained ceiling tiles or sagging drywall above
- Water that came through an exterior wall or foundation
Hidden moisture is the trap. Our overview of hidden water damage signs covers the symptoms that show up weeks later.
What DIY Cannot Replicate
Even a well-equipped homeowner is missing a few things a professional crew brings.
- Thermal imaging cameras to map moisture behind walls
- Penetrating moisture meters that read inside materials
- Antimicrobial treatments rated for restoration use
- Documentation insurance carriers expect on claims
- Containment to keep contamination from spreading
If you plan to file an insurance claim, the documentation piece alone often justifies bringing in a certified crew. Adjusters look for moisture logs, photos, and category determination from a licensed professional.
Step 4: Inventory What Got Wet
Some materials forgive water. Others do not.
- Generally savable with DIY: sealed concrete, ceramic tile, solid wood furniture (if dried fast), synthetic rugs
- Sometimes savable: hardwood flooring, low-pile carpet, painted drywall above the waterline
- Usually requires professional drying or replacement: drywall that wicked water, insulation, MDF cabinetry, carpet pad, engineered flooring, subfloor
If wet drywall, insulation, or subfloor are in play, DIY drying often misses the moisture trapped behind or below visible surfaces.
Pay close attention to wicking. Drywall can draw water up to 18 inches above the visible waterline through capillary action. Insulation behind that drywall holds moisture for weeks even when the surface feels dry to the touch. Cabinetry, particle board shelving, and laminate flooring all swell from the inside out, so damage often does not show until day three or four.
Step 5: Confirm You Have the Right Equipment
Box fans and open windows are not drying equipment. Real drying requires a balance of airflow, heat, and humidity control.
- Wet/dry vacuum rated for the volume of water
- Air movers (not standard fans) at roughly one per 150 square feet
- Commercial dehumidifier with at least 70 pints per day capacity
- Moisture meter to verify dryness in materials, not just air
- Hygrometer to track humidity inside the drying space
You can rent most of this from a tool yard. Expect $150 to $400 per day for a small setup. If you cannot get the right gear within a few hours, call someone who already has it staged.
Step 2: Measure the Affected Area
Size matters. A puddle is not the same as a flooded room.
- Under 10 square feet, hard surface only: DIY is reasonable
- 10 to 100 square feet, single room: DIY is possible if you act within hours
- Over 100 square feet, or multiple rooms: call a professional
- Any water on two floors: call a professional
- Water touching exterior walls or insulation: call a professional
The bigger the footprint, the more airflow and dehumidification you need. A single box fan does not move enough air to dry a soaked living room in time.
Common DIY Mistakes That Backfire
Even careful homeowners make these errors, and each one can turn a manageable spill into a full restoration job.
- Opening windows when outdoor humidity is high. You can actually add moisture to the space
- Leaving wet carpet pad in place. The pad acts like a sponge and feeds moisture back into the carpet above
- Running heat instead of dehumidification. Warm air holds more water, but only a dehumidifier removes it
- Stopping when surfaces feel dry. Surface dryness is not structural dryness
- Skipping the baseboards. Trapped moisture behind trim is the most common source of later mold complaints
- Reusing soaked underlayment or padding. These materials lose structural integrity once wet
The goal is not to make the room feel dry. The goal is to bring moisture content in every material back to baseline.
Step 3: Check How Long the Water Sat
Time is the silent factor most homeowners underestimate.
- 0 to 6 hours: excellent DIY window
- 6 to 24 hours: DIY possible, but materials may be compromised
- 24 to 48 hours: mold risk climbing fast
- Over 48 hours: assume hidden damage, call a pro
The 48-hour rule is real. Our article on how fast mold grows after water damage walks through why that window is so unforgiving.